On this page
Arriving at a ski resort for the first time can be confusing: queues, ticket machines, clunky boots and a lot of people who seem to know exactly where they are going. This guide walks you through a typical first day so nothing catches you by surprise.
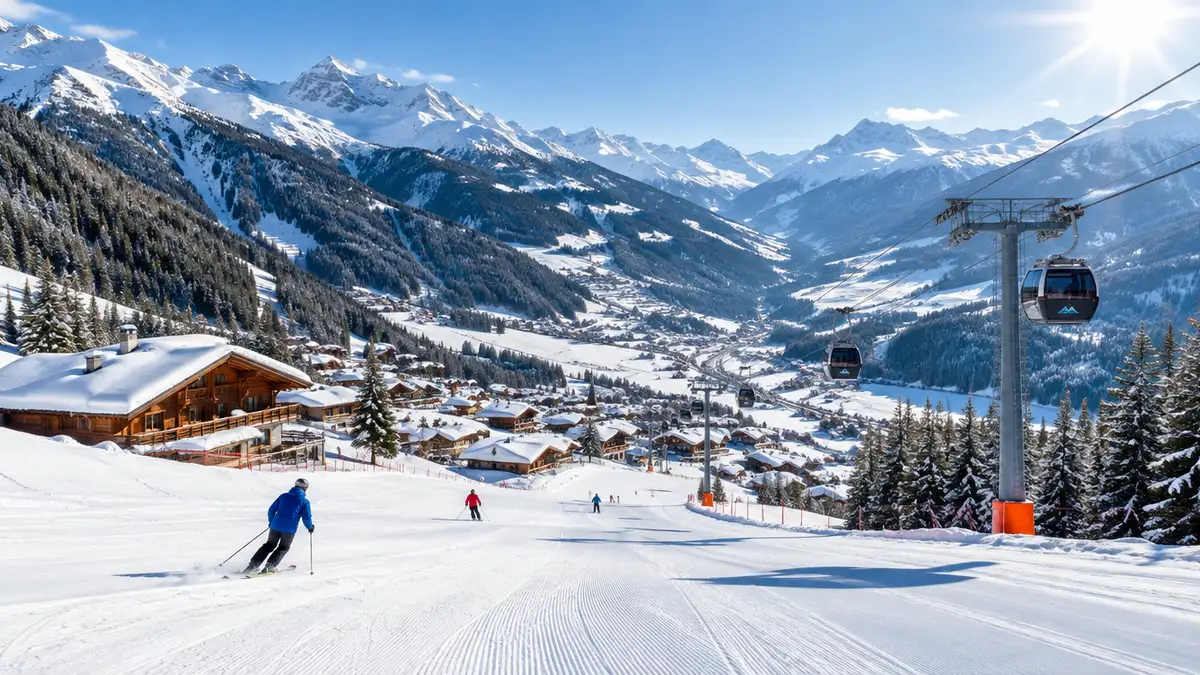
How a ski resort is laid out
- The village or base area — hotels, restaurants, rental shops, ski school desks and the main lift stations.
- The ski area (domain) — all the slopes and lifts, sometimes linking several villages. Big areas like the Three Valleys have 600 km of runs; small ones may have 10.
- The nursery area / beginner zone — a gentle, often fenced slope near the base with a “magic carpet” conveyor or short drag lift. This is where you will spend day one.
- Mountain restaurants and huts — for lunch and a warm drink up on the hill.
Step 1: Buy your lift pass (ski pass)
The lift pass is your ticket for the lifts. Most resorts now use a hands-free card that you keep in a left pocket; gates open automatically as you approach. Options usually include:
- Beginner pass — cheap or even free, covers only the nursery lifts. Ideal for day 1–2.
- Half-day or single-day pass.
- Multi-day pass — cheaper per day, often required for 6-day ski school weeks.
- Area pass vs whole-domain pass — beginners rarely need the big, expensive domain pass.
Save money: buy online a few days before your trip — many resorts offer 10–25% discounts for early purchase. Kids, students and seniors usually pay less; small children are often free.
Step 2: Pick up rental equipment
Book in advance online (it’s cheaper and guarantees your size). At the shop, staff will ask for your height, weight, shoe size, age and ability — be honest about being a beginner, because this sets the release force of your bindings (the DIN setting). Try the boots on with the ski socks you will actually wear. They should feel snug but not painful. Read how to fit ski boots.
Most rental shops offer overnight storage and a free swap if something doesn’t feel right — use it!
Step 3: Find your ski school
Group lessons meet at a set time (often 9:30 or 10:00) at a meeting point marked by the school’s flag. Arrive 15 minutes early — carrying skis in ski boots is slower than you think. See group vs private lessons.
Step 4: Understand the lifts
You will meet several kinds of lift: magic carpets (conveyor belts on the nursery slope), drag lifts (T-bars and button lifts that pull you along the ground), chairlifts and enclosed gondolas or cable cars. Your instructor will show you how to use each one, and our lift guide explains them step by step.
Step 5: Read the piste map
Pick up a free paper map or download the resort’s app. Runs are colour-coded by difficulty — in Europe green blue red black; in North America green circles, blue squares and black diamonds. The piste colours guide explains the differences.
A typical beginner’s first day
| Time | What happens |
|---|---|
| 8:00 | Breakfast — a proper one. You’ll burn a lot of energy. |
| 8:45 | Pick up rental gear (or collect from the ski locker) |
| 9:30 | Meet your ski school group |
| 9:30–12:00 | Lesson on the nursery slope |
| 12:00–13:30 | Lunch, rest, drink water |
| 13:30–15:00 | Practise on the nursery slope or afternoon lesson |
| 15:00 | Stop before you’re exhausted — most injuries happen at the end of the day |
| 16:00+ | Hot drink, après-ski, stretching, early night |
Practical tips nobody tells you
- Carrying skis: clip them together and rest them on your shoulder, tips forward and pointing down.
- Walking in ski boots: unclip the top buckles and put the boot into “walk mode” if it has one. Walk heel-first.
- Lockers: renting a boot locker at the base saves you from carrying gear back to the hotel every day.
- Toilets: go before you get into all your layers and gear!
- Sun: even on cloudy days, the UV at altitude is strong. Use sunscreen and lip balm.
- Snacks and water in your pocket keep your energy up between lessons.
First-day checklist
- Lift pass (beginner area is enough)
- Rental booked, ski socks on
- Helmet and goggles — why they matter
- Ski school time and meeting point
- Sunscreen, water, snack, phone in an inside pocket
- Full list: interactive packing checklist
Frequently asked questions
Do I need a full lift pass on my first day?
Usually not. Most resorts sell a cheap beginner pass that covers only the nursery lifts, which is all you need for day one and often day two.
Should I book rental equipment in advance?
Yes. Booking online is typically 10–30% cheaper, guarantees availability in your size and speeds up pickup.
What time should I arrive?
Aim to have your equipment and lift pass sorted at least 15–20 minutes before your lesson starts, usually between 9:00 and 10:00.